Remote IoT Access On Android: Free Guide To Success!
Are you ready to unlock the full potential of your smart home and IoT devices, controlling them from the palm of your hand, no matter where you are? With the right setup, accessing your IoT devices remotely behind a router using an Android device is not just a possibility; it's a readily achievable reality, opening up a world of unparalleled convenience and control.
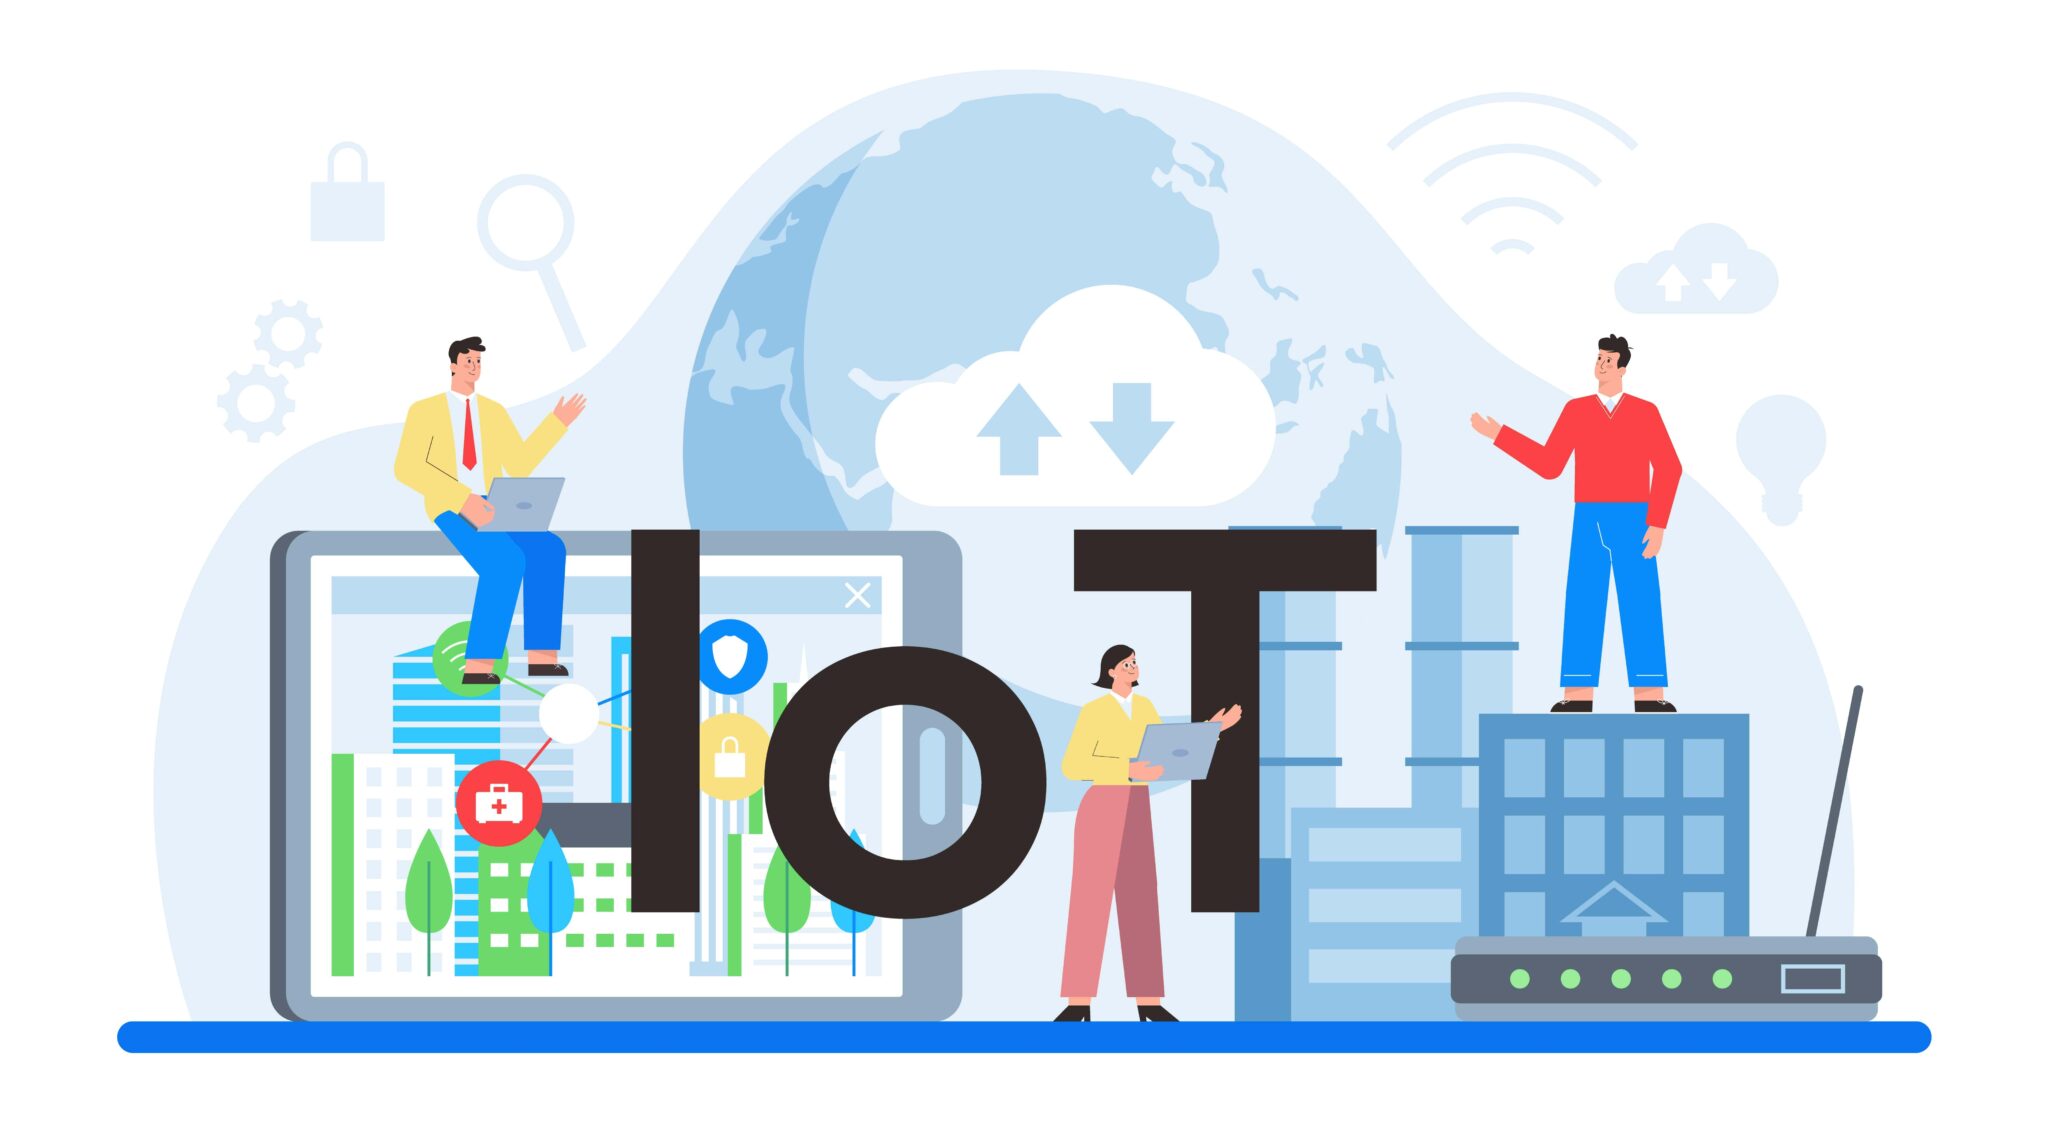
The modern world is brimming with interconnected devices, from smart thermostats and security cameras to sophisticated industrial sensors. These Internet of Things (IoT) devices are designed to streamline our lives, enhance efficiency, and provide real-time data, but their true potential is often limited by the confines of our local networks. The ability to remotely access and manage these devices, regardless of geographical limitations, is a game-changer. This guide delves into the specifics of setting up remote access for IoT devices behind a router, focusing on Android devices and free tools to make this accessible to everyone.
This comprehensive guide explores the intricacies of establishing remote access, tackling common challenges and offering practical solutions. We will navigate through the essential steps, from fundamental concepts to advanced techniques, ensuring that you have the knowledge and the tools to successfully implement remote IoT management using your Android smartphone. The following table provides an overview of the key topics covered:
- Unlock Remote Access Free Remoteiot Vpc Ssh For Raspberry Pi Aws
- Boost Ticket Sales Gamification Summits Secret Weapon
| Topic | Description |
|---|---|
| Understanding Remote Access | Explains the core concepts of remote access and why it's crucial for IoT devices. |
| Network Fundamentals | Covers essential networking concepts like IP addresses, port forwarding, and dynamic DNS. |
| Android Device Preparation | Details the necessary Android device setup and software requirements. |
| Router Configuration | Provides step-by-step instructions for configuring your router for remote access. |
| SSH and Secure Connections | Explains how to use SSH (Secure Shell) for secure remote access. |
| Dynamic DNS Setup | Guides you through the process of setting up a dynamic DNS service. |
| Troubleshooting and Security Best Practices | Offers tips for troubleshooting common issues and securing your remote access setup. |
Managing IoT devices remotely can seem daunting, especially when they are hidden behind a router's firewall. This is where understanding and implementing the proper steps become crucial. Fortunately, accessing your devices from afar is possible with free tools and your trusty Android device. The goal is to create a secure and reliable system that meets your specific needs, be it monitoring your home's security system or controlling industrial machinery from miles away. Let's explore how to achieve this, step by step.
The core principle behind remote IoT access revolves around creating a secure tunnel that allows your Android device to communicate with your IoT devices, even when they are behind a router. This tunnel is typically established using SSH (Secure Shell), a network protocol that provides a secure channel over an unsecured network. The process involves several key steps:
- Understanding Your Network: Familiarize yourself with your home network's structure, including your router's IP address, the IP addresses of your IoT devices, and your router's internal settings.
- Port Forwarding: This is arguably the most crucial step. It involves configuring your router to forward incoming network traffic on a specific port to the internal IP address of your IoT device. This allows your Android device to "find" your IoT device.
- Dynamic DNS (Optional but recommended): Your home's public IP address may change over time. A dynamic DNS service helps resolve your changing IP address with a static domain name, so you don't have to constantly update your connection settings.
- SSH Client on Android: Install an SSH client on your Android device to establish a secure connection to your IoT device. Popular options include Termius and JuiceSSH, which are readily available on the Google Play Store.
- Configuring Your SSH Client: Input the necessary connection details in your SSH client, including your dynamic DNS domain (or your public IP), the port you forwarded, and your login credentials for your IoT device.
Let's delve deeper into each of these steps to provide a practical understanding of how to set up remote IoT access.
- Viral Simone Biles Shaqs Epic Photo At Super Bowl
- Susan Mikula Age Career Relationship With Rachel Maddow
Step 1: Network Fundamentals and Preparation
Before diving into the technical aspects, it's essential to grasp the fundamental concepts of networking. You'll need to understand IP addresses (both public and private), the role of your router, and the purpose of port forwarding. Your router acts as a gateway, connecting your local network (where your IoT devices reside) to the internet. Each device on your local network has a private IP address (e.g., 192.168.1.100). Your router has a public IP address, which is what the outside world uses to find your network.
To find your router's IP address, refer to your router's manual or consult your network settings on your computer or smartphone. You will also need to identify the private IP address of your IoT devices, which can usually be found in your router's admin panel or on the device itself.
On your Android device, ensure you have a stable internet connection (Wi-Fi or mobile data). Install an SSH client app from the Google Play Store, such as Termius or JuiceSSH. These apps provide the necessary tools to establish secure connections to your IoT devices.
Step 2: Port Forwarding - The Gateway to Remote Access
Port forwarding is the linchpin of remote access. It's the process of directing network traffic from a specific port on your router's public IP address to a specific device on your local network. This allows external devices (like your Android phone) to reach your IoT devices.
Here's how to set up port forwarding:
- Access Your Router's Admin Panel: Open a web browser and enter your router's IP address in the address bar (e.g., 192.168.1.1). You'll need your router's username and password to log in. If you don't know the credentials, consult your router's manual or search online for default login information for your router's model.
- Locate Port Forwarding Settings: The exact location of port forwarding settings varies depending on your router's make and model. Look for sections like "Port Forwarding," "Virtual Servers," "NAT," or "Application Rules."
- Create a New Rule: Create a new port forwarding rule. You'll need to specify the following details:
- Service Name: Give the rule a descriptive name, like "SSH for Raspberry Pi."
- Protocol: Choose TCP (Transmission Control Protocol).
- External Port: Choose an external port number. This is the port that your Android device will use to connect to your network from the outside. Common choices are 22 (the default SSH port) or a higher, less common port like 2222 to enhance security by obfuscation.
- Internal Port: Enter the port that your IoT device is using for SSH. This is typically 22.
- Internal IP Address: Enter the private IP address of your IoT device (e.g., 192.168.1.100).
- Save the Rule: Save the port forwarding rule. Your router should now be configured to forward traffic on the specified external port to your IoT device.
Step 3: Dynamic DNS - Keeping Track of Your IP
Your public IP address, assigned by your Internet Service Provider (ISP), is usually dynamic. This means it changes periodically. If your IP address changes, your remote access will break. A dynamic DNS (DDNS) service solves this by providing a hostname (e.g., myiotdevice.example.com) that always points to your current public IP address.
Here's how to set up a dynamic DNS service:
- Choose a DDNS Provider: Several free and paid DDNS providers are available, such as No-IP, DynDNS, and DuckDNS. Research and choose a provider that meets your needs.
- Create an Account: Sign up for an account with your chosen DDNS provider.
- Create a Hostname: Create a hostname for your network. This will be the address you use to access your devices remotely (e.g., myiotdevice.example.com).
- Configure Your Router: Many routers have built-in support for DDNS providers. Log in to your router's admin panel and look for the DDNS settings. Enter your DDNS provider's login credentials and your hostname. Your router will automatically update your IP address with the DDNS provider. If your router doesn't support DDNS, you may need to install a DDNS client on a device within your network (like a computer or Raspberry Pi).
Step 4: SSH Client Configuration on Android
With port forwarding and DDNS (if used) configured, it's time to set up your SSH client on your Android device.
- Install an SSH Client: If you haven't already, install an SSH client app like Termius or JuiceSSH from the Google Play Store.
- Open the SSH Client: Launch the SSH client on your Android device.
- Add a New Connection: Tap the "+" or "Add Connection" button to create a new connection profile.
- Enter Connection Details: Enter the following information:
- Hostname or IP Address: If you're using a DDNS service, enter your hostname (e.g., myiotdevice.example.com). Otherwise, enter your public IP address.
- Port: Enter the external port you configured in your router's port forwarding settings (e.g., 22 or 2222).
- Username: Enter the username for your IoT device (typically the username you use to log in via SSH locally).
- Password: Enter the password for your IoT device.
- Save the Connection: Save the connection profile.
- Connect: Tap the connection profile to attempt to connect to your IoT device. If everything is configured correctly, you should be connected to your device's command-line interface.
Step 5: Managing Your IoT Device Remotely
Once you've successfully connected via SSH, you can now manage your IoT device remotely. The specific commands you use will depend on the type of device and its operating system. Here are some common actions:
- Monitoring System Resources: Use commands like `top`, `htop`, or `free -m` to monitor CPU usage, memory usage, and other system resources.
- Managing Processes: Use commands like `ps`, `kill`, and `systemctl` to view and manage running processes, start, stop, or restart services.
- File Management: Use commands like `ls`, `cd`, `mkdir`, `rm`, `cp`, and `mv` to navigate the file system, create directories, delete files, copy files, and move files.
- Software Updates: Use the appropriate package manager (e.g., `apt` on Debian/Ubuntu, `yum` on CentOS/RHEL) to update the software on your IoT device.
- Device-Specific Control: Use commands specific to your IoT device to control its functions. For example, you might use commands to control a smart home device or access sensor data.
Troubleshooting Common Issues
Sometimes, setting up remote access doesn't go as planned. Here are some common issues and how to address them:
- Connection Refused: This usually indicates an issue with port forwarding or the SSH service on the IoT device. Double-check your port forwarding settings in your router. Ensure that the SSH service is running on your IoT device (e.g., `sudo service ssh status`).
- Timeout: A timeout often means the SSH client can't reach your IoT device. Check your internet connection and the public IP address/hostname you're using. Make sure your router's firewall isn't blocking the connection.
- Incorrect Login Credentials: Double-check your username and password for your IoT device. SSH is very sensitive to case.
- Firewall Issues: Ensure that any firewalls on your IoT device or your network aren't blocking the SSH connection.
- DDNS Problems: If using DDNS, verify that the hostname resolves to your current public IP address. You can use a website like whatismyip.com and ping your hostname to check.
Security Best Practices
Remote access poses potential security risks. Implement these practices to enhance your security:
- Change Default Credentials: Immediately change the default username and password for your IoT device's SSH access.
- Use Strong Passwords: Employ strong, unique passwords for all your devices.
- Disable Password Authentication: If possible, disable password authentication and use SSH keys for more secure access. Generate an SSH key pair on your Android device or another secure machine and copy the public key to your IoT device.
- Keep Your Software Updated: Regularly update the operating system and software on your IoT devices to patch security vulnerabilities.
- Use a Non-Standard SSH Port: Changing the default SSH port (22) to a higher, less common port can help to deter automated attacks.
- Implement Two-Factor Authentication (2FA): If supported by your IoT device, enable 2FA for an extra layer of security.
- Monitor Your Logs: Regularly review the SSH logs on your IoT device to identify any suspicious activity.
- Restrict Access: Limit access to your IoT devices to only the necessary users and IP addresses.
Beyond the Basics: Advanced Techniques
Once you have a solid understanding of the basics, you can explore advanced techniques to enhance your remote access capabilities.
- SSH Tunneling: Use SSH tunneling to create secure connections for other applications. For example, you can tunnel a web server on your IoT device through an SSH connection.
- VPNs: Consider using a Virtual Private Network (VPN) to create a secure, encrypted connection to your home network. This eliminates the need for port forwarding, as all traffic is routed through the VPN.
- Reverse SSH: Set up reverse SSH tunnels, where your IoT device initiates the SSH connection to your Android device or another server, allowing you to bypass firewall restrictions on the device's network.
- Automation: Use scripts and automation tools to perform tasks remotely, such as automated backups, system monitoring, and device restarts.
Conclusion
Setting up remote access to your IoT devices behind a router using an Android device is a powerful capability that can significantly enhance your control and convenience. By understanding the principles of networking, configuring your router correctly, and utilizing free tools like SSH, you can create a secure and reliable system that allows you to manage your smart devices from anywhere in the world. Remember to prioritize security and implement best practices to protect your devices and your network. Start today, and unlock the full potential of your connected devices! The ability to remotely manage your IoT devices is not a dream; it's a practical, achievable goal for anyone with a smart device and a desire to control it from anywhere in the world.


Detail Author:
- Name : Werner Wiza
- Username : tre72
- Email : lilliana61@gmail.com
- Birthdate : 1985-12-31
- Address : 13765 Koelpin Club Apt. 582 Libbiemouth, OH 97226
- Phone : +1-352-976-2187
- Company : Beatty, Funk and Schaden
- Job : Cost Estimator
- Bio : Alias ut asperiores quod impedit est ducimus saepe. Non ea expedita voluptas veritatis atque. Quo aperiam est ut ut.
Socials
tiktok:
- url : https://tiktok.com/@wilma.kling
- username : wilma.kling
- bio : Labore enim ea debitis nulla et qui voluptatem. Minus aut corporis at.
- followers : 3993
- following : 923
instagram:
- url : https://instagram.com/klingw
- username : klingw
- bio : Quas fuga ut consequatur ipsa sunt. Iusto et omnis ut nihil.
- followers : 318
- following : 2742
facebook:
- url : https://facebook.com/wilma.kling
- username : wilma.kling
- bio : Illum sed id quod est officia. Velit aut ea quo a consequatur.
- followers : 6001
- following : 2329
twitter:
- url : https://twitter.com/wilmakling
- username : wilmakling
- bio : Et sunt voluptatum quia dolore voluptates et aut. Tenetur ad occaecati fugiat quis ratione officia.
- followers : 729
- following : 2754
linkedin:
- url : https://linkedin.com/in/wilmakling
- username : wilmakling
- bio : Sit voluptatem vel nostrum eos dolorem.
- followers : 4547
- following : 2803
