Raspberry Pi Remote Monitoring: Setup & Free Apps
Can a tiny computer truly transform how we manage our technology, offering unprecedented control and insight from anywhere in the world? The answer is a resounding yes: the Raspberry Pi, coupled with the right remote monitoring tools, provides a gateway to unparalleled efficiency and control over your digital environment.
The world of remote device management is often perceived as complex, requiring specialized skills and costly solutions. However, the advent of the Raspberry Pi has democratized this technology, placing powerful monitoring and control capabilities within reach of individuals and businesses alike. The Raspberry Pi, a credit-card-sized computer, has rapidly gained popularity due to its affordability, versatility, and ease of use. This miniature marvel has revolutionized the way we interact with technology, offering a compact yet powerful platform for a wide range of applications, from home automation to industrial control systems.
Before delving into the specifics of setting up a Raspberry Pi remote monitoring system, it's beneficial to understand the fundamental components involved. At its core, the system leverages the Raspberry Pi's ability to connect to a network (either via Wi-Fi or Ethernet) and its compatibility with various software applications designed for remote access and data collection. This setup allows users to monitor parameters such as temperature, humidity, server performance, and network activity, all from a remote location.
- Remoteiot Ssh Raspberry Pi On Windows Free Download Setup
- Best Remote Iot Platforms For Raspberry Pi A Comprehensive Guide
One of the key advantages of using a Raspberry Pi for remote monitoring lies in its flexibility. The Raspberry Pi can be adapted to a variety of monitoring tasks, making it suitable for a broad spectrum of applications. Whether you're keen on keeping tabs on environmental conditions in a remote location, monitoring the performance of a home server, or simply receiving notifications when a device goes offline, the Raspberry Pi provides a powerful, cost-effective solution.
The journey to effective remote monitoring with a Raspberry Pi is not a daunting one. With a few simple steps, you can transform this miniature computer into a powerful monitoring hub. The following sections will guide you through each stage of the process, from hardware selection and software installation to configuration and remote access. This guide will walk you through everything you need to know about setting up and using a free Raspberry Pi remote monitoring app, ensuring you maximize its potential while adhering to best practices.
To begin, acquiring a Raspberry Pi board is the first step. While many Raspberry Pi models will work, the Raspberry Pi 3 Model B+ is a popular choice, widely available for an affordable price. These products are widely available, so shop around.
- Loral Infallible Concealer Your Ultimate Guide For Flawless Skin
- Remoteiot Ssh Download For Raspberry Pi Your Ultimate Guide
Turning a Raspberry Pi into a web or file server is relatively easy. However, if you decide to enlist your rasp pi for web and file serving duties, you should also consider deploying software that will help you monitor your server make sure it runs smoothly. The raspberry pi remote monitor app is more than just software; it's a gateway to efficiency, flexibility, and innovation.
For the octoprint, you can either get a raspberry pi camera or a web camera like the logitech. Lets show you how to set it up. Connect the camera module to the pi board. One of these accessories is the camera. A simple web camera can be connected to the raspberry pi board to give the user remote monitoring capabilities.
Before running the ansible playbook to configure the remote(s), add a file named after the hostname or ip address of each remote Raspberry Pi inside config/host_vars. For instance, if the Pi's IP is 10.0.1.34, add a host_vars file named 10.0.1.34 and put overrides inside, like the local_sensor_id for that Pi.
The benefits of using a Raspberry Pi remote device management system are numerous. By using a Raspberry Pi, you can manage multiple devices across a wide variety of networks, allowing you to better control and monitor your environment. Info Raspberry Pi (read all the information of the connected device) pinout and diagrams wake on lan (use Raspberry Pi to send wakeonlan magic packets) shows notifications sent by the Raspberry Pi shutdown reboot * it use protocol SSH. Password or SSH key (RSA, ED25519, ECDSA). * plugin for Tasker app.
For the software aspect, enabling SSH (Secure Shell) access is crucial. This allows you to remotely connect to and control your Raspberry Pi from other devices. Start by connecting your Raspberry Pi to a monitor and keyboard for the initial setup. Navigate to "Interface Options" and select "SSH" to enable it. This sets the stage for remote interaction.
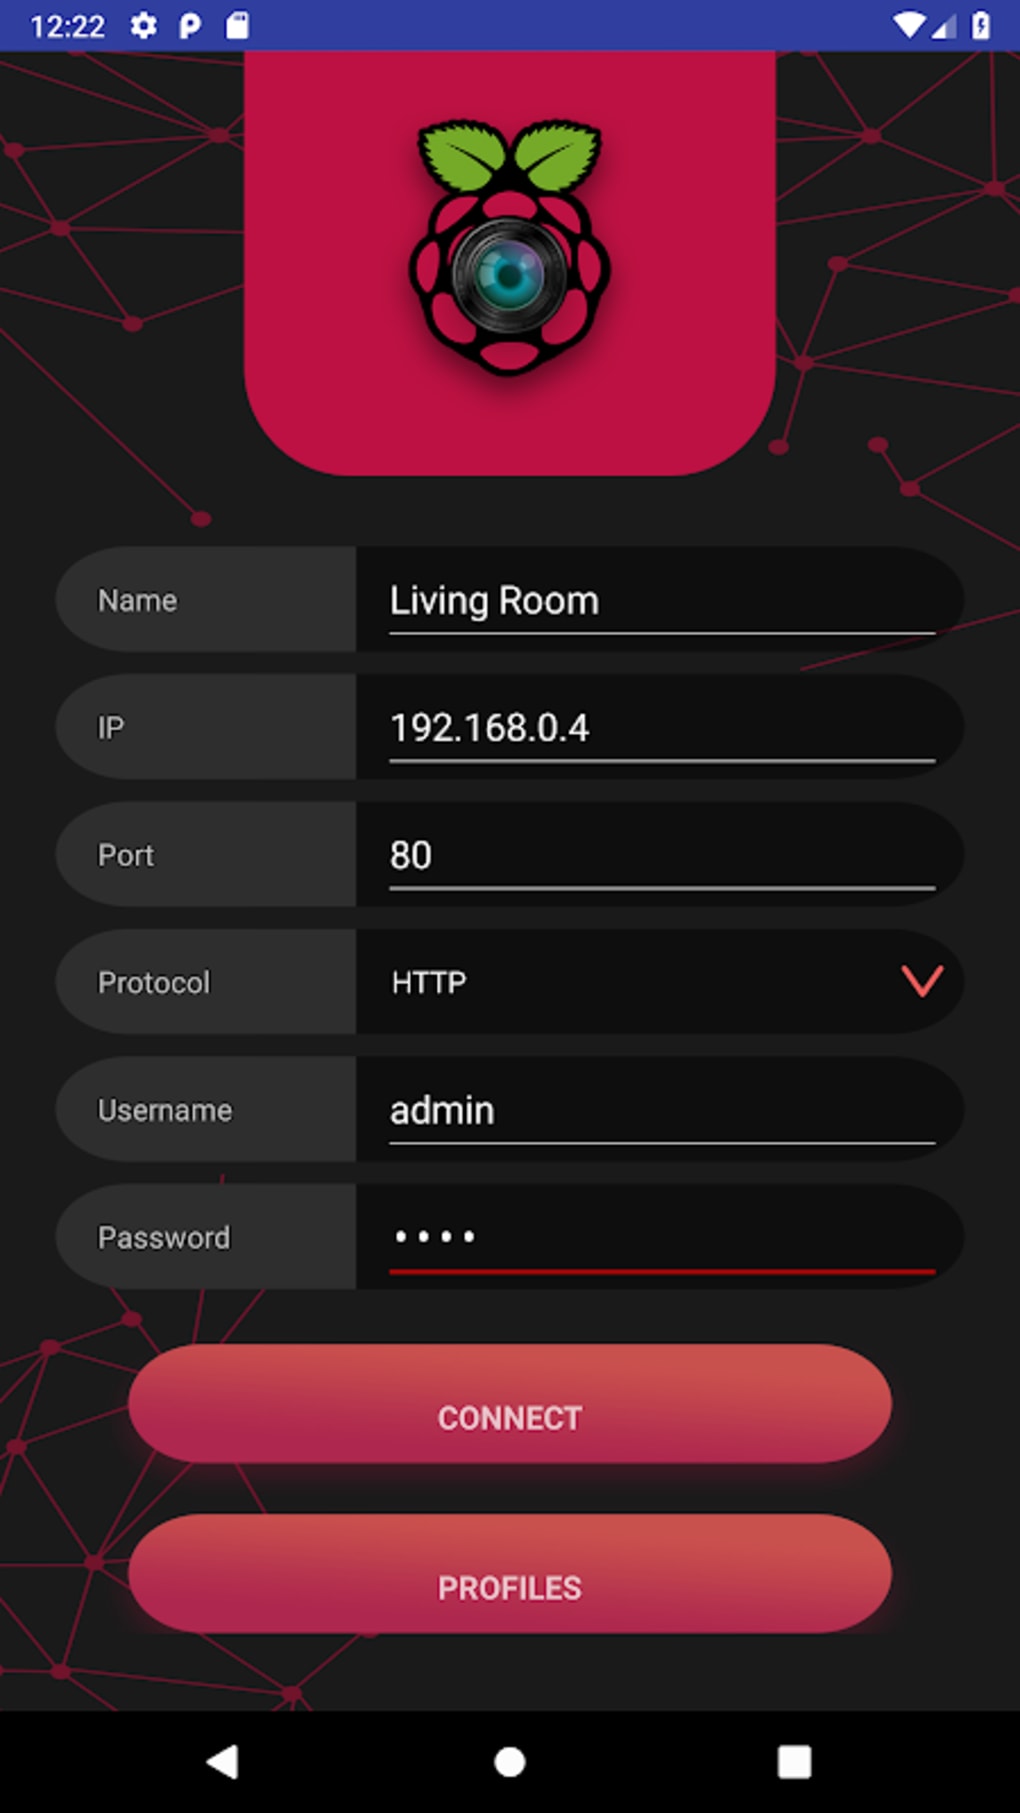
A Raspberry Pi can be monitored remotely using several methods. These tools allow the Raspberry Pi to be monitored over wifi, ethernet, or even over the internet when combined with a public IP and appropriate port. The raspcontroller application allows you to easily manage your Raspberry Pi remotely. Now it is possible to manage files, to control the GPIO ports, and send commands directly through the terminal. This capability is vital for maintaining system health and preventing potential issues.
Also consider these useful articles on Raspberry Pi:
- Setting up a Raspberry Pi for an IoT project
- OTA software updates for your Raspberry Pi
- Memory requirements for your Raspberry Pi
If you are using your Raspberry Pi in a remote location or on solar power as we are, you want to protect it from power shutdowns. The way to do this is to use an uninterruptable power supply made for the Raspberry Pi and configure the Raspberry Pi so that it will automatically shutdown on a signal from the UPS indicating loss of power. It has sufficient compute power and RAM to run a Linux or Windows operating system. As a result, many network monitoring tools can use the Raspberry Pi as a remote sensor.
To monitor network traffic with a Raspberry Pi device, you can use open source applications like iperf, ntop, or perfsonar.
Once you've established remote access, the next step is to select and configure a remote monitoring application. Several options are available, each with its strengths and weaknesses. Some popular choices include Linux Dash Dashboard, which provides a web-based dashboard for monitoring system performance, and the Raspcontroller application, which allows you to manage files, control GPIO ports, and send commands through the terminal remotely.
The Raspberry Pi's ability to act as a remote sensor is another significant advantage. As a result, many network monitoring tools can use the Raspberry Pi as a remote sensor. The Raspberry Pi can be used to monitor network traffic using open-source applications such as iperf, ntop, or perfsonar, providing invaluable insights into network performance and potential bottlenecks.
A simple web camera can be connected to the Raspberry Pi board to give the user remote monitoring capabilities.
These apps can monitor a wide range of parameters, including temperature, humidity, server performance, and network activity. With a Raspberry Pi remote monitoring app free, you can achieve just that.
Ive created a simple Python script that runs every 60 seconds and sends several system data over MQTT. It uses the MQTT discovery for Home Assistant so you dont need to configure anything in Home Assistant if you have discovery enabled for MQTT heres the repo system_sensors.
By combining the Raspberry Pi with a remote monitoring app, you can create a powerful system that allows you to remotely manage and monitor your devices. This capability is vital for maintaining system health and preventing potential issues. Let's dive in and discover how Raspberry Pi remote monitor apps can revolutionize the way you manage your devices.


Detail Author:
- Name : Judy Gleason
- Username : htorp
- Email : zechariah87@bradtke.biz
- Birthdate : 1997-01-22
- Address : 79676 Maxime Plaza Apt. 198 Batzside, MS 98683
- Phone : 949-416-5176
- Company : Johns and Sons
- Job : Meter Mechanic
- Bio : Velit eius beatae quidem iusto pariatur. Ut quia debitis provident natus inventore ea. Sit maxime natus natus magni. Excepturi unde qui dolorem in.
Socials
instagram:
- url : https://instagram.com/shaylee.turcotte
- username : shaylee.turcotte
- bio : Ut dolorem et ad eum placeat sit non voluptas. Voluptate velit qui quod. Voluptates ut ut quaerat.
- followers : 1994
- following : 691
facebook:
- url : https://facebook.com/shaylee_turcotte
- username : shaylee_turcotte
- bio : Nihil placeat vitae ut laudantium culpa quidem quidem.
- followers : 6608
- following : 446
linkedin:
- url : https://linkedin.com/in/shaylee2780
- username : shaylee2780
- bio : Id doloribus asperiores ut velit eaque quos iste.
- followers : 3087
- following : 2981
twitter:
- url : https://twitter.com/shaylee.turcotte
- username : shaylee.turcotte
- bio : Excepturi perspiciatis minima qui autem minus. Quibusdam deleniti voluptates voluptas odio voluptas aspernatur qui.
- followers : 372
- following : 784
tiktok:
- url : https://tiktok.com/@shayleeturcotte
- username : shayleeturcotte
- bio : Amet sapiente dolorum est voluptatum fuga impedit officia ut.
- followers : 686
- following : 230
